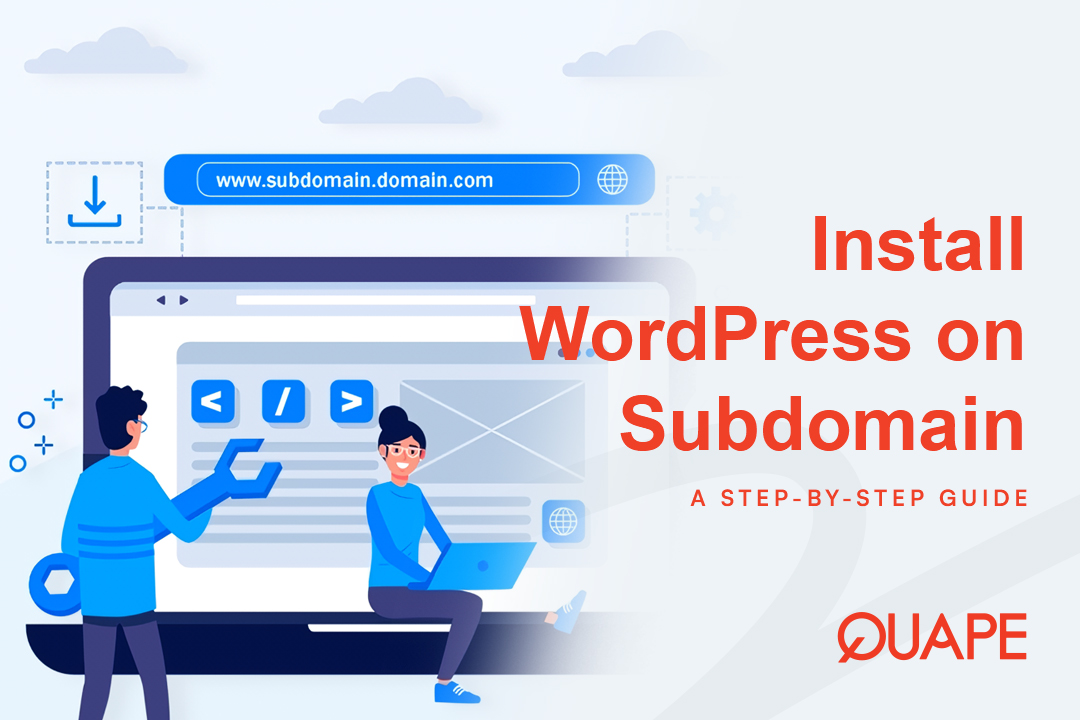
MỘT tên miền phụ is a powerful tool that allows you to create a completely separate website or application under the umbrella of your main domain name (e.g., staging.yourdomain.com hoặc blog.yourdomain.com).
Unlike an addon domain, which acts as a secondary primary site, a subdomain is simply a division of your existing domain. This makes it ideal for:
- Staging & Testing: Creating a private copy of your live site to test updates and changes before pushing them live.
- Micro-sites: Running a dedicated e-commerce store, a support portal, or a separate community forum.
- Development: Launching a new project without having to buy a new domain name.
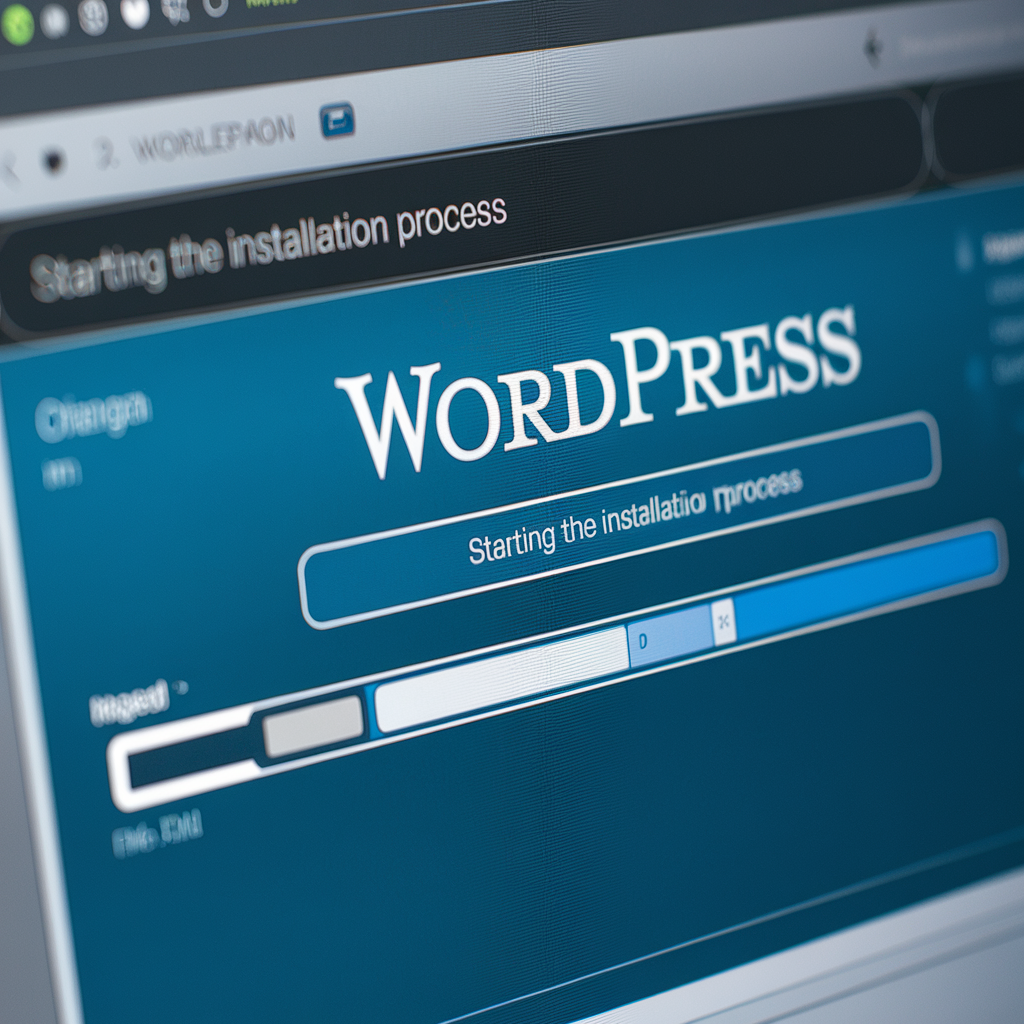
If you are hosted with Quape and use cPanel, the entire process is completed in two simple phases using the Trình cài đặt ứng dụng Softaculous—the fastest and most common method.
Steps to Install WordPress on a Subdomain
Phase 1: Creating the Subdomain in cPanel
The first step is to formally register the subdomain with your hosting server, which creates a dedicated folder for your new WordPress files.
Step 1: Log in to Your cPanel Account
Access your cPanel dashboard using the link provided by Quape (usually yourdomain.com/cpanel). Once logged in, navigate to the “Domains” phần.
- Nhấp vào “Subdomains” icon.
Step 2: Define and Create the Subdomain
On the Tên miền phụ page, you need to define three fields:
- Tên miền phụ: Enter the desired prefix (e.g.,
staging,dev, hoặcshop). - Domain: Use the dropdown menu to select the main domain you want to attach the subdomain to (e.g.,
yourdomain.com). The full URL will display below (e.g.,staging.yourdomain.com). - Document Root: This path automatically generates the folder where the files will be stored (e.g.,
/public_html/staging). This is where the installer will place your new WordPress files.
- Nhấp vào “Create” cái nút.
cPanel will confirm success. You now have a ready-made folder on your server to house the WordPress installation.
Phase 2: Installing WordPress via Softaculous
With the subdomain active, we use the one-click installer to complete the installation effortlessly.
Step 3: Access the WordPress Installer
Return to the main cPanel dashboard and locate the "Phần mềm" phần.
- Nhấp vào “WordPress Manager by Softaculous” hoặc “Softaculous Apps Installer” icon.
- On the WordPress overview screen, click the blue “Cài đặt ngay” cái nút.
Step 4: Configure the Installation URL (Critical Step)
This step requires careful attention to ensure WordPress is installed in the correct location:
- Choose Protocol: Lựa chọn
https://(Quape provides a free SSL, making HTTPS the standard). - Choose Domain: Use the dropdown menu and select the exact subdomain you just created (e.g.,
staging.yourdomain.com). - In Directory: LEAVE THIS FIELD COMPLETELY BLANK. If you enter anything here, WordPress will install in a subfolder (e.g.,
staging.yourdomain.com/test), which defeats the purpose of installing on the subdomain root.
Step 5: Set Up the Site Details and Admin Account
Fill out the required site information:
| Cánh đồng | Instruction and Best Practice |
|---|---|
| Tên trang web | A descriptive name (e.g., “Quape Staging Area”). |
| Tên người dùng quản trị | Choose a unique username. Avoid ‘admin’ for security. |
| Mật khẩu quản trị viên | Use the password generator to create a strong, secure password and save it immediately. |
| Email của quản trị viên | Use an active email address for critical notifications and password recovery. |
Step 6: Finalize and Launch
- Advanced Options: For beginners, you can leave these as default.
- Chi tiết cài đặt email: Enter an email address to receive a permanent record of your login details and site URLs.
- Nhấp vào cuối cùng "Cài đặt" cái nút.
Softaculous will take about a minute to complete the installation and configure the necessary files and database.
Post-Installation Access
Once complete, Softaculous will provide the two essential links:
- Your Subdomain Site URL:
https://staging.yourdomain.com - URL quản trị của bạn (Bảng điều khiển):
https://staging.yourdomain.com/wp-admin
Use the Administrative URL, and your chosen Admin Username and Password to log in and start customizing your new WordPress project.
Effortlessly Manage Multiple Sites with Quape Hosting
Installing WordPress on a subdomain is an effective strategy for growth and development, but running multiple installations requires a robust hosting platform that can dedicate the necessary resources to all your projects simultaneously.
Tại Quape, we offer high-performance WordPress Hosting Và Máy chủ chuyên dụng designed for multisite efficiency. Our optimized infrastructure ensures that whether you’re building a simple blog on your main domain or running a complex staging site on a subdomain, all your sites operate at peak speed and reliability.
Don’t let managing multiple projects slow you down. Choose Quape and get the dedicated resources and support you need to handle every subdomain with confidence.


- Hướng dẫn cài đặt WordPress trên VPS từng bước - Tháng 10 10, 2025
- Cách cài đặt WordPress trên tên miền phụ một cách dễ dàng - Tháng 10 10, 2025
- Hướng dẫn cài đặt WordPress trong cPanel từng bước - Tháng 10 9, 2025