Are you ready to take your CodeIgniter project live but feeling a bit overwhelmed by the deployment process? Moving a local development environment to a live web server can seem like a daunting task, with many potential pitfalls along the way. From file transfers to database imports and configuration tweaks, one small mistake can lead to frustrating errors.
But it doesn’t have to be that way.
This comprehensive, step-by-step guide will walk you through the entire process of uploading your CodeIgniter project to hosting, ensuring a smooth and successful launch. We’ll cover everything from preparing your files and setting up your database to troubleshooting common issues. By the end, you’ll be able to deploy your CodeIgniter application with confidence.
Table of Contents
TogglePre-Deployment Checklist: Getting Your Project Ready
Before you even log into your hosting control panel, a little preparation can save you a lot of headaches.
1. Backup Your Project
First and foremost, create a complete backup of your local CodeIgniter project folder and its database. This is a critical safety net. If anything goes wrong during the upload, you’ll have a clean version to revert to.
2. Review Configuration Files
Take a moment to review and prepare your configuration files for the live server environment.
config.php: Openapplication/config/config.phpand look for the$config['base_url']setting. This value must be changed to your live domain’s URL. For example, if your domain ishttps://www.yourdomain.com, the setting should be:$config['base_url'] = 'https://www.yourdomain.com/';database.php: Inapplication/config/database.php, you’ll need to update the database credentials. Thehostname,username,password, anddatabasevalues will all be different on your hosting server. You will create these credentials in the next step.
Step-by-Step Guide: Deploying Your CodeIgniter Project

The following steps assume you have a standard hosting control panel like cPanel. The process may be slightly different on other platforms, but the core principles remain the same.
Step 1: Uploading Your Project Files
There are two primary ways to transfer your files to the server.
- Using cPanel’s File Manager:
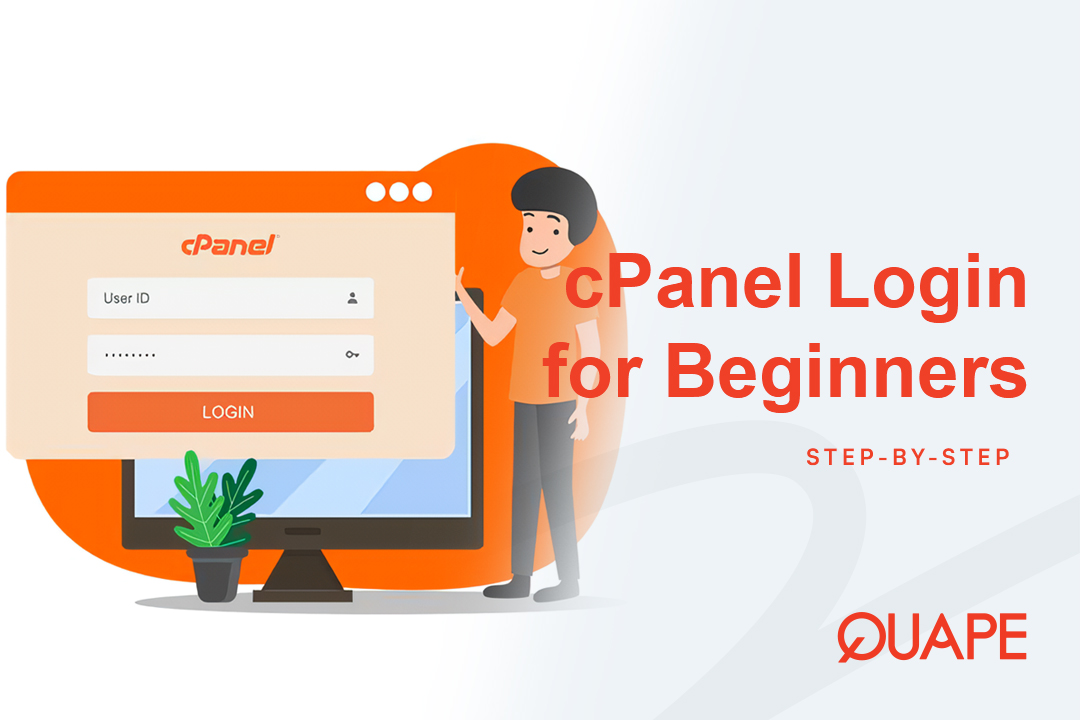
- Log in to your hosting cPanel.
- Navigate to File Manager.
- Go to the
public_htmldirectory. This is usually the root folder for your primary domain. - Click the Upload button and select the compressed
.zipfile of your CodeIgniter project. - Once the upload is complete, select the
.zipfile and click Extract. Extract the files directly into thepublic_htmlfolder.
- Using an FTP Client (e.g., FileZilla):
- Get your FTP login credentials from your hosting provider (usually found in your cPanel).
- Connect to your server using an FTP client.
- Drag and drop all the files and folders from your local CodeIgniter project (excluding the
vendorfolder if you’re using Composer) into thepublic_htmldirectory on the server.
Step 2: Creating a New Database and User
Your local database won’t be accessible from your live server. You need to create a new one.
- In your cPanel, find the MySQL Databases section.
- Create a new database. Choose a name that is easy to remember, for example,
yourusername_mydb. - Create a new database user with a strong password. For example,
yourusername_myuser. - Crucially, add the newly created user to the database and grant all privileges. This is a common mistake people forget, which leads to database connection errors.
Step 3: Importing Your Database
Now that you have a new, empty database on your server, you need to import your local data.
- In cPanel, go to phpMyAdmin.
- Select the database you just created from the left-hand menu.
- Click on the Import tab.
- Choose the
.sqlfile of your local database and click Go. This will import all your tables and data.
Step 4: Updating the Configuration Files
Remember the credentials you created in Step 2? It’s time to use them.
- Navigate back to File Manager and locate
application/config/database.php. - Edit this file and update the following settings with your new credentials:
'hostname' => 'localhost', // Usually 'localhost' 'username' => 'yourusername_myuser', 'password' => 'YourStrongPassword', 'database' => 'yourusername_mydb', - Save the changes.
Step 5: Adjusting the index.php and .htaccess Files (Optional, but Recommended)
For cleaner URLs and to ensure your site works correctly on a live server, you may need to make these final adjustments.
- Moving
index.php: For a cleaner URL structure (e.g.,yourdomain.cominstead ofyourdomain.com/index.php), move theindex.phpfile and the.htaccessfile from your project’s root folder into thepublic_htmlfolder. All other files and folders (e.g.,application,system,vendor) can remain in their original location. - Creating or Editing the
.htaccessfile: To enable URL rewriting and remove theindex.phpfrom your URLs, create a file named.htaccessin yourpublic_htmlfolder with the following code.RewriteEngine On RewriteCond %{REQUEST_FILENAME} !-f RewriteCond %{REQUEST_FILENAME} !-d RewriteRule ^(.*)$ index.php/$1 [L]
Common Troubleshooting Tips
Encountering an error? Don’t panic. Here are some of the most common issues and how to fix them.
- 404 Not Found Error: This is often a
.htaccessissue. Double-check that your.htaccessfile is correctly configured and located in thepublic_htmldirectory. Ensure your hosting server hasmod_rewriteenabled. - Database Connection Error: The most likely culprit is incorrect credentials in
application/config/database.php. Verify thehostname,username,password, anddatabasevalues. Remember that the full database name and username often include a prefix (e.g.,cpaneluser_). - Blank Page or 500 Server Error: This could be due to a variety of reasons, but start by enabling error reporting to see the exact issue. In
index.php, change the environment fromproductiontodevelopment:define('ENVIRONMENT', 'development');Once the issue is resolved, be sure to switch it back toproduction.
Final Check and Launch
Your CodeIgniter project is now live! Before you celebrate, do a final check.
- Open your website in a browser and navigate to a few different pages.
- Test any forms or interactive features to ensure they work as expected.
- Clear your browser’s cache if you’re not seeing the latest changes.
Once you’ve verified everything, your project is successfully deployed.
Deploying a CodeIgniter project is a straightforward process once you know the steps. With careful preparation and a systematic approach, you can get your application live quickly and smoothly. For a seamless hosting experience that makes deployment easy, consider Quape’s reliable and high-performance hosting services, designed to support developers every step of the way.
- How to Log In to WordPress Dashboard Easily - September 30, 2025
- Forgot WordPress Password? How to Reset It Easily - September 29, 2025
- How to Log In to cPanel Easily for Beginners - September 27, 2025


