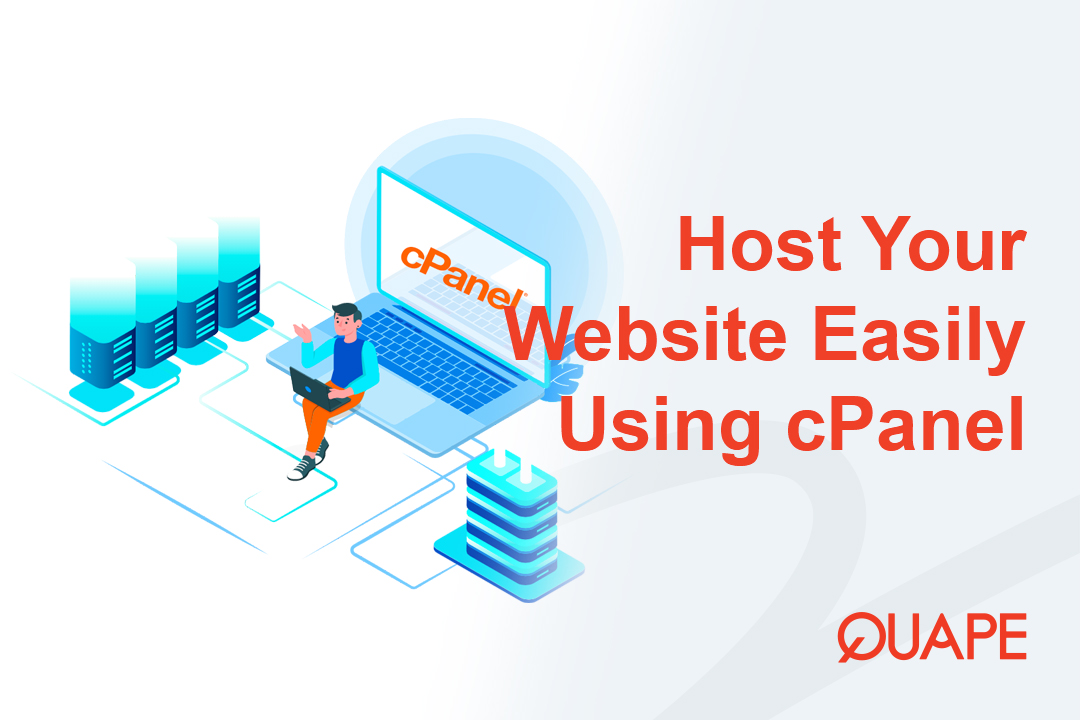
cPanel is the industry-standard control panel that allows you to manage your web hosting service with a simple, graphical interface instead of complicated command-line tools. Whether you are launching a simple static HTML site or a dynamic content management system (CMS) like WordPress, cPanel provides all the necessary tools—from file management and database creation to email setup—in one place.
This guide will walk you through the essential steps to get your website live on your Quape hosting account with minimal effort.
Prerequisites: What You Need Before You Start
- A Domain Name: Registered and pointed to your hosting provider’s nameservers (e.g., your Quape nameservers).
- A Hosting Plan: An active Quape web hosting account with cPanel access.
- Your Website Files: Ready to upload (e.g., HTML, CSS, JavaScript files, or a CMS installation package).
How to Host on cPanel

Step 1: Accessing cPanel and Locating the Public Directory
The first step is gaining entry to your control panel interface.
- Login: Access your cPanel using the credentials provided by Quape (usually via
yourdomain.com/cpanel). - Find File Manager: Locate and click the File Manager icon in the Files section of cPanel. This tool is where you will upload and manage all your website files.
- Identify the Root Folder: For your primary domain, the web root folder is always named
public_html. This is where your main website files must reside.- Crucial Note: If you are hosting an Addon Domain, its root folder will typically be named something like
public_html/addon-domain-name.
- Crucial Note: If you are hosting an Addon Domain, its root folder will typically be named something like
Step 2: Uploading Your Website Files (Two Methods)
Depending on your site type, you can choose between uploading pre-built files or using an automated installer.
Method A: Uploading Static Files (HTML/CSS)
Use this method for simple, brochure websites, or if you have a finished site zip file.
- Navigate: Inside
public_html, click the Upload button at the top menu. - Select File: Drag and drop your website’s main compressed file (e.g.,
website.zip) or individual files. - Unzip (if needed): If you uploaded a compressed file, right-click the file in File Manager and select Extract to unpack the contents directly into
public_html. - Verify: Ensure your primary homepage file (usually
index.htmlorindex.php) is directly inside thepublic_htmlfolder.
Method B: Installing a CMS (WordPress, Joomla)
If you are using a CMS, the easiest way is with the built-in application installer.
- Locate Installer: Return to the main cPanel dashboard and find the Softaculous Apps Installer or a similar App Installer icon.
- Select CMS: Click the icon for the desired application (e.g., WordPress).
- Configure: The installer will guide you through:
- Choosing the domain (
yourdomain.com). - Selecting the directory (leave blank to install in
public_html). - Setting up administrative login details.
- Choosing the domain (
- Install: Click Install. cPanel automatically creates the necessary files, database, and configurations within minutes.
Step 3: Setting Up a Database (If Not Using an Installer)
If you are manually installing a dynamic application (not using Softaculous), you need a database.
- Go to MySQL Database Wizard: On the main cPanel dashboard, find MySQL Database Wizard under the Databases section.
- Create Database: Follow the three-step process:
- Step 1: Create a new database name (e.g.,
user_wpdb). - Step 2: Create a database user and assign a strong password.
- Step 3: Add the new user to the database and grant ALL PRIVILEGES.
- Step 1: Create a new database name (e.g.,
- Record Credentials: Immediately record the Database Name, Username, and Password. You will need these to configure your application (e.g., in WordPress’s
wp-config.php).
Step 4: Final Testing and Verification
With your files uploaded and database configured (if needed), your site should now be live.
- Test the Domain: Open your web browser and navigate to
http://yourdomain.com. Your homepage should load instantly. - Check URLs: Navigate to a few internal pages to ensure all links and assets (images, CSS) are loading correctly.
- Set Up Professional Email: For business credibility, return to the main cPanel screen and use the Email Accounts feature to create professional email addresses like
info@yourdomain.com.
Conclusion: Simplicity and Reliability
cPanel is designed to handle the technical complexities, allowing you to focus purely on your content and business growth. By following these four simple steps, you can host virtually any website easily.
For dynamic websites, reliability and performance are key. Quape specializes in optimized WordPress Hosting and provides 24/7 expert support to ensure your cPanel environment and website are always running at peak efficiency.
Ready to launch your online presence with ease? Explore Quape’s fast and reliable hosting plans today


- How to Fix Err_Connection_Reset and Its Causes - November 12, 2025
- The Complete Beginner’s Guide to Colocation Hosting - November 2, 2025
- What Is Apache? A Simple Guide for Beginners - October 27, 2025