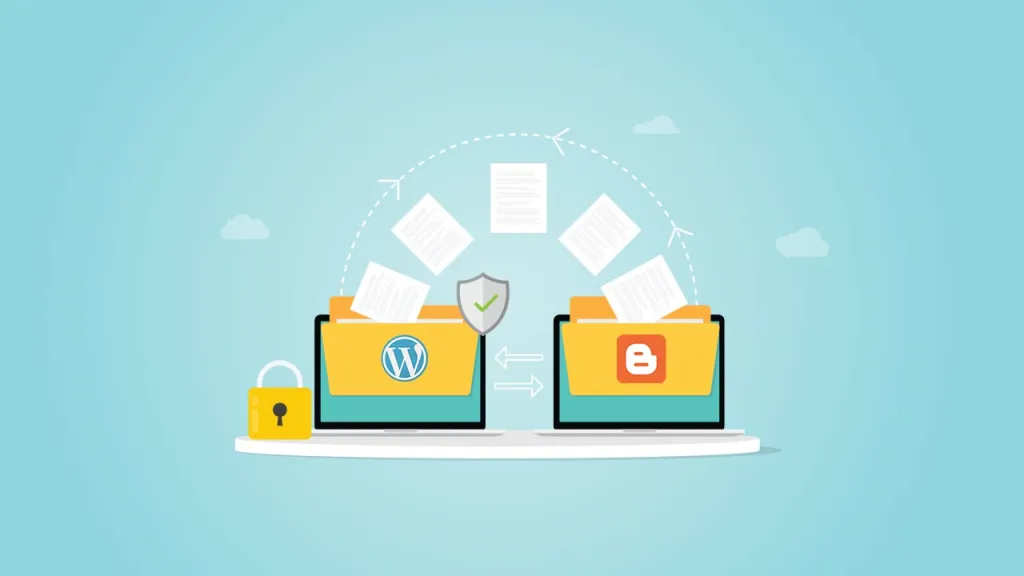
For years, Blogger (BlogSpot) has been a reliable platform for starting a blog. However, as your website grows and your needs evolve, you inevitably hit its limitations. The transition from Blogger’s closed system to the open, powerful ecosystem of WordPress is often the single best decision a website owner can make.
Key Reasons to Migrate from Blogger to WordPress:
- True Ownership and Control: WordPress is self-hosted, giving you 100% control over your data, code, and monetization strategy.
- Unrivaled Customization: With thousands of themes and plugins, you can transform your site into anything—an e-commerce store, a membership site, or a dynamic corporate page.
- Superior SEO Capabilities: WordPress is inherently better for SEO. Plugins like Yoast SEO or Rank Math allow precise control over every element, from meta descriptions to schema markup.
- Scalability: WordPress can grow with you, easily handling massive traffic volumes and complex features that Blogger simply cannot support.
Ready to take control? Here is the simplest and most secure way to move your entire site from Blogger to the WordPress dashboard.
Step by Step Migration from Blogger to WordPress
Preparation: The Critical Pre-Migration Checklist
Before moving any content, you need a secure, powerful place for your new website to live. This stage is crucial for a smooth transfer.
Secure Your Hosting and Domain
Your new WordPress site requires a hosting plan. Choose a provider that offers speed, reliability, and excellent support.
- Action: Purchase a reliable WordPress Hosting plan (Quape offers high-performance, Singapore-based hosting optimized specifically for WordPress).
- Action: Ensure your domain name is pointed to your new hosting server.
Install WordPress
Most quality hosts offer a one-click WordPress installer (often through cPanel’s Softaculous or similar tools).
- Action: Use the installer provided by your host to set up a clean, fresh instance of WordPress on your domain. This will be the destination for all your Blogger content.
- Important: You do not need to choose a theme or install plugins yet. Just set up the basic administrative account.
Exporting Content from Blogger
The migration process starts by creating a readable backup file of your entire blog from the Blogger interface.
Navigate to Blogger Settings
- Log into your Blogger dashboard (BlogSpot).
- In the left-hand menu, navigate to Settings.
- Scroll down to the Manage Blog section.
Download Your Content File
- Under the “Manage Blog” section, click “Back up content.”
- Click the “Download” button.
- Blogger will save a single XML file to your computer. This file contains all your posts, pages, and comments.
Security Note: Keep this XML file in a secure location. It is a complete copy of your blog content.
Importing Content to WordPress
Now that you have the complete XML file, you will use the built-in WordPress Importer tool to transfer everything.
Access Your WordPress Importer
- Log in to your new WordPress dashboard (
yourdomain.com/wp-admin). - In the left-hand menu, navigate to Tools > Import.
- Find the Blogger option in the list.
Install and Run the Blogger Importer
- Click “Install Now” under the Blogger tool. This installs the necessary plugin.
- Once installed, click “Run Importer.”
- On the next screen, click “Choose File” and upload the XML file you downloaded from Blogger.
- Click “Upload file and import.”
Assign Authors
WordPress will ask you to assign the imported content to a new author.
- You can choose an existing WordPress user (like your primary administrator account).
- Or, you can create a new user. It is highly recommended to assign the posts to your primary WordPress admin account to keep things simple.
- Crucially, ensure you check the box next to “Download and import file attachments.” This attempts to pull all the images from the Blogger server and host them on your new WordPress site.
- Click “Submit.”
The import process can take a few minutes, depending on the size of your blog. Once complete, you will see a confirmation message.
Post-Migration Cleanup and SEO Optimization (The Crucial Step)
The content is moved, but the job is only half-done. These next steps are absolutely critical to maintain your search engine rankings and ensure a perfect user experience.
Set Up WordPress Permalinks
Blogger and WordPress use different URL structures. If you don’t match the structure closely, you will break every link on your site and lose your SEO rank!
- In your WordPress dashboard, go to Settings > Permalinks.
- Select the “Month and Name” option. This structure closely mimics the default Blogger format:
yourdomain.com/YYYY/MM/post-title.html. - Optional, but Recommended: If your old Blogger posts ended in
.html, you can replicate this by going to Custom Structure and entering:/2025/09/%postname%.html(adjust the year and month to match your first post). - Click “Save Changes.”
Fix Image and Media Paths
While the import tool usually grabs your images, sometimes the image URLs in your posts still point back to BlogSpot (e.g., http://example.blogspot.com/image.jpg).
- Recommended Plugin: Install a search and replace plugin (like Better Search Replace).
- Action: Run a search and replace in your database to change all instances of your old Blogger URL (
http://yourblogname.blogspot.com) to your new WordPress URL (http://yourdomain.com). This ensures all your media is locally hosted.
Set Up 301 Redirects (The SEO Lifesaver)
This is the most important SEO step. You need to tell Google (and all visitors) that your old BlogSpot address has permanently moved to your new domain.
- Install a Redirection Plugin: Use a plugin like Redirection or implement the redirects directly via your
.htaccessfile (if you are an advanced user). - Redirect the BlogSpot Domain: The goal is to redirect traffic from
yourblogname.blogspot.comtoyourdomain.com. Since you don’t control the BlogSpot server anymore, you must do this through the Blogger Settings:- Go back to your Blogger Settings > Publishing.
- Set up your custom domain forwarding to point directly to your new domain.
- Redirect Specific Post Links: For any posts that might still break, the Redirection plugin can capture 404 errors and automatically redirect them to the correct new WordPress URL, preventing link rot and saving your existing traffic.
Conclusion: New Platform, Unlimited Potential
Migrating from Blogger to WordPress is an investment in your site’s future. While the process involves several technical steps, following this guide ensures a clean, SEO-friendly transfer, moving your content safely and securely. You now have access to powerful features, advanced security, and unlimited growth potential.
This journey to self-hosted WordPress requires a strong foundation, and that starts with reliable web hosting. Quape, based in Singapore, offers premium WordPress Hosting plans optimized for speed and stability. Our seamless setup process and expert support ensure your new WordPress site is ready to handle your traffic from day one, giving you the peace of mind to focus on creating great content.
Start building your bigger, better website today—partner with Quape for exceptional performance!

- How to Fix Err_Connection_Reset and Its Causes - November 12, 2025
- The Complete Beginner’s Guide to Colocation Hosting - November 2, 2025
- What Is Apache? A Simple Guide for Beginners - October 27, 2025