Domain
How to Transfer a Domain: 8 Steps Without Downtime
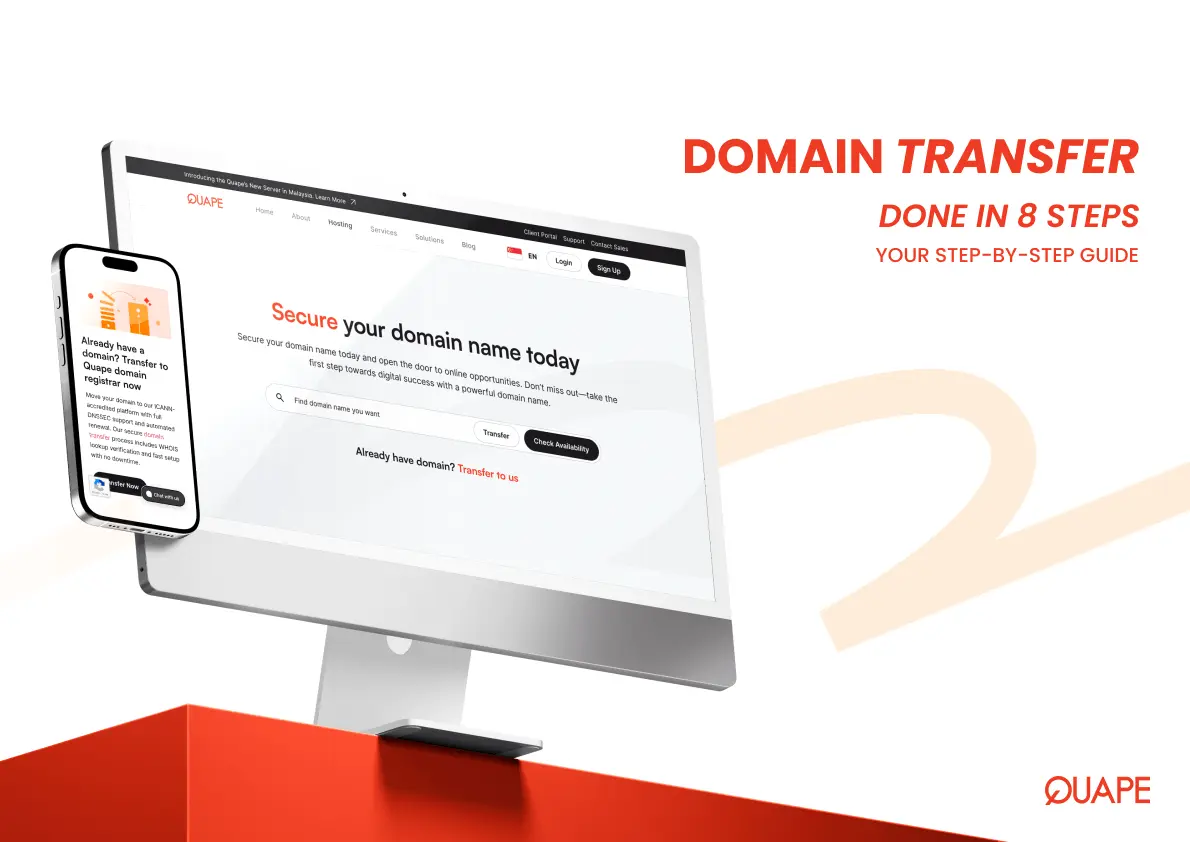
A registrar transfer moves the management of a domain name from one registrar to another. It does not move the website, email service or DNS records by itself. When the existing nameservers remain unchanged, those services should continue operating during the transfer.
This eight-step guide explains how to confirm eligibility, unlock the domain, obtain the EPP/AuthInfo code, approve the request and verify DNS after completion. Generic domains may be subject to ICANN transfer restrictions, while .sg domains use SGNIC’s transfer-password and approval process.
If you are ready to proceed, start with QUAPE’s Singapore domain transfer service. Keep access to the registrant email account and avoid unrelated DNS changes while the transfer is in progress.
What Does Domain Transfer Mean?
A domain transfer is the process of moving your registered domain name from one domain registrar to another. Registrars are companies accredited by ICANN (Internet Corporation for Assigned Names and Numbers) to manage the reservation of domain names, DNS configurations, renewal processes, and domain ownership records.
For example, if your domain is currently registered with another Singapore registrar but you want to manage it through QUAPE instead, you’d need to transfer the domain. The ownership of the domain doesn’t change you remain the domain holder but the service provider responsible for managing your domain’s settings and renewals does.
Domain transfers are often done for reasons like:
- Better pricing and lower renewal fees
- Improved customer support or user interface
- Consolidating all your domains under one account
- Avoiding poor service or restrictions at the current registrar
It’s important to note that a domain transfer does not affect your website or email hosting as long as you don’t change the DNS settings during the process. Your content and services remain intact unless you intentionally move them.
Step-by-Step: How to Transfer a Domain
1. Check Eligibility for Transfer
Before anything, ensure your domain meets the basic requirements:
- The domain is at least 60 days old
- It has not been transferred within the past 60 days
- There are no registrar locks or ongoing disputes
- ICANN’s rules don’t block the transfer (especially after recent WHOIS changes)
If your domain was recently registered or transferred, you’ll need to wait until the 60-day hold is lifted.

2. Update and Confirm WHOIS Information
Your domain registrar uses the WHOIS database to contact you for verification. Log in to your current registrar’s dashboard and:
- Check that your email address and contact info are up-to-date
- Temporarily disable WHOIS privacy protection if enabled
- Confirm you’ll have access to the email used for domain verification
3. Unlock Your Domain
Domains are typically locked to prevent unauthorized transfers. Go to your registrar’s control panel and:
- Locate your domain
- Find the “Registrar Lock” or “Domain Lock” setting
- Switch it OFF
This makes your domain eligible for transfer.
4. Get the Authorization Code (EPP Code)
This is a unique password-like code that authorizes the domain transfer.
- Request the EPP/auth code from your current registrar
- It’s usually sent via email or displayed in your account
- Save this code, you’ll need it for the next step
Also Read: How to Register a Domain in Minute
5. Start the Transfer at the New Registrar
Now head to the new registrar where you want to move your domain.
- Look for an option like “Transfer Domain”
- Enter your domain name and the EPP/auth code
- Pay the transfer fee (usually includes a 1-year renewal)
Make sure your domain remains unlocked and your email is still accessible throughout this step.
6. Verify and Approve the Transfer
After submitting the transfer:
- Check your email for verification links from both the old and new registrar
- Approve the transfer request when prompted
- This process must be completed within a few days, or the request will time out
Once confirmed, the domain transfer officially begins.
7. Wait for Transfer Completion
Most domain transfers take 3 to 7 days to complete. In the meantime:
- Your domain and website will stay live if your DNS settings aren’t altered
- You’ll receive a confirmation email when the transfer is done
- The domain should now be listed in your new registrar’s dashboard
8. Post-Transfer Cleanup
Once the transfer is complete:
- Re-enable domain locking for security
- Turn WHOIS privacy protection back on (if desired)
- Review and update your DNS settings if needed (especially for email or hosting)
- Set auto-renewal to avoid expiration issues in the future
Tips for a Smooth Domain Transfer
Even though domain transfers are generally straightforward, a few precautions can make the process smoother and safer. Here are some practical tips to help you avoid common issues:
Don’t Cancel Your Old Registrar Account Too Soon
It’s important to keep your account active with your current registrar until the transfer is fully complete and your domain is functioning properly under the new registrar.
Prematurely deleting or disabling the old account could interrupt domain management access, DNS settings, or renewal protection. Wait until you’re 100% sure everything has migrated correctly.
Avoid DNS Changes During the Transfer
Changing your nameservers or DNS records during an active domain transfer can disrupt website and email services. Most registrars will temporarily lock DNS settings during the transfer window, so any last-minute changes might not go through and that can lead to service interruptions. To prevent this, configure all necessary DNS records before initiating the transfer, or wait until it’s completed.
Watch Out for Domain Transfer Scams
Some bad actors attempt to exploit domain transfers through tactics like domain slamming a scam where you receive deceptive emails asking you to approve a transfer you didn’t request.
Always double-check the legitimacy of any communication. Only approve domain transfers that you’ve intentionally started, and only respond to emails from your current or future registrar.
Transfer Well Before the Expiry Date
Don’t wait until the last minute. Domain transfers can take up to 7 days to complete, and if your domain expires during that window, it could cause website or email downtime or even domain loss.
For best results, initiate the transfer at least two weeks before your domain’s expiration date. Most registrars will extend your domain by one year as part of the transfer, so there’s no downside to doing it early.
Final Thoughts
Learning how to transfer a domain might seem intimidating at first, especially with terms like EPP code, registrar lock, and WHOIS updates floating around.
But once you break the process into clear steps verifying eligibility, unlocking your domain, securing the auth code, and confirming the move it becomes far more manageable. Most importantly, the process empowers you as the domain owner to take full control of where and how your domain is managed.
Whether you’re switching to a registrar with better support, improved pricing, or a more intuitive dashboard, a domain transfer can be a smart move that benefits your online presence in the long run. Just remember to plan ahead, avoid DNS changes during the transfer, and stay vigilant against phishing or domain-related scams.
Thinking about switching registrars? Make it seamless and secure QUAPE can help you transfer your domain without the hassle. With expert support and transparent pricing, we’ll make sure your online presence stays uninterrupted.